Earlier this week I converted prefolds from the traditional flats that you can get anywhere in Malaysia. It is very cheap to make, I got the flats for RM36.90 for a dozen.
So, let’s start with determining the size. For this tutorial, I’m making newborn size, that is 11″ by 11″. I also want a good absorbency, so let’s make it 4 x 8 x 4 ply.
Step 1: Prepping the flats
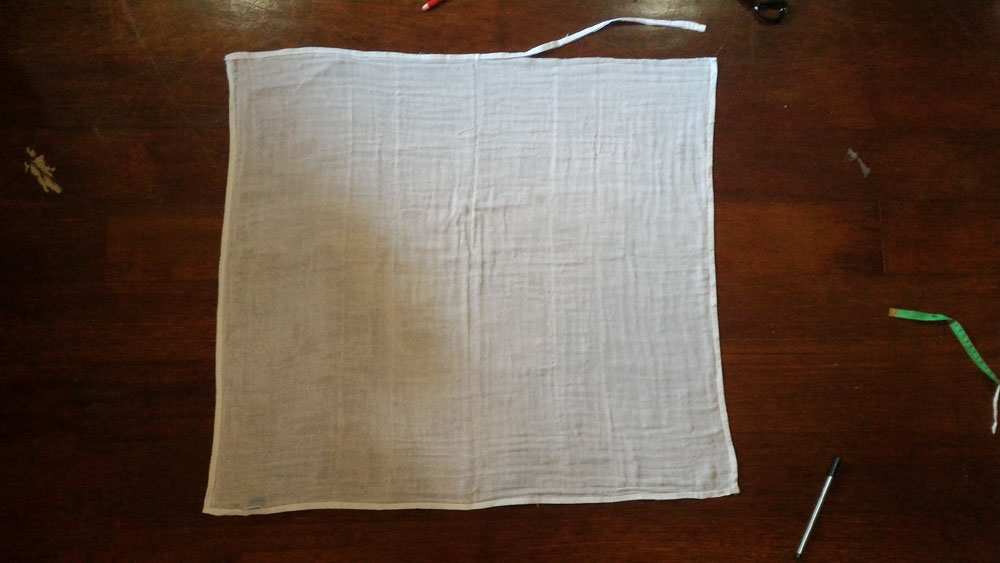
You can either prewash the fabric to allow for shrinkage or, prewash later, but you have acommodate the measurements for shrinkage. The flats shrunk about half an inch. The funny thing is, on packaging it says 30″x30″ but I got flats that are 31.5″ by 27.5″. Prewash 1-2 times to make sure it has fully shrunk.
Step 2: Cutting
Trim off one edge. Eventually we are going to trim all edges, but I find the fabric is more forgiving when working with the edges.
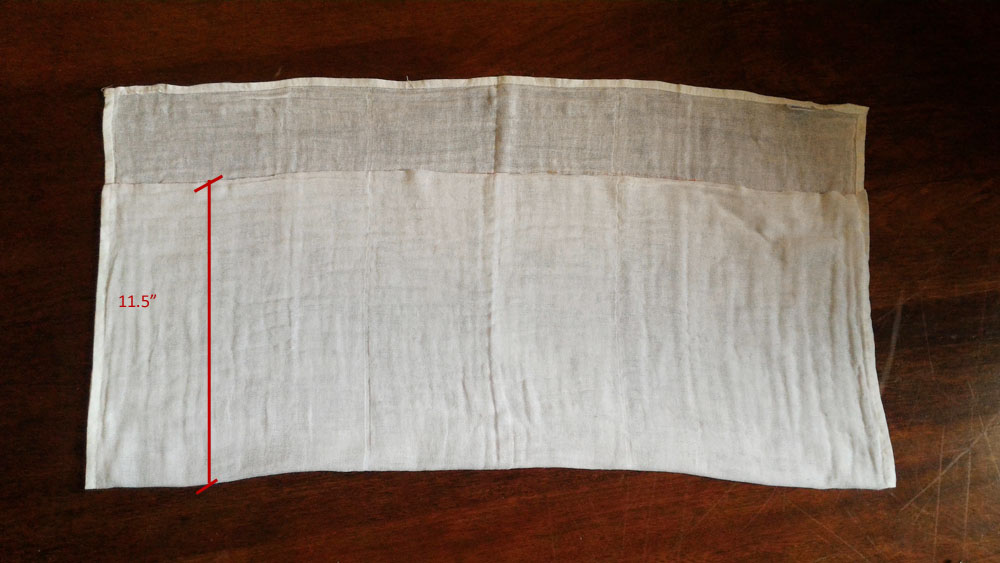
Then, fold on the long side until we get a measurement of 11.5″ folded. The extra half an inch is to accommodate for serging in case the edges end up wonky.
I also find it easier to mark where the edges should be because the fabric is very grippy and shifty. Then trim off the excess. Save this cut to make extra layer for the middle soaker. Align the edges as best as you can, and trim that off.
Step 3: Folding
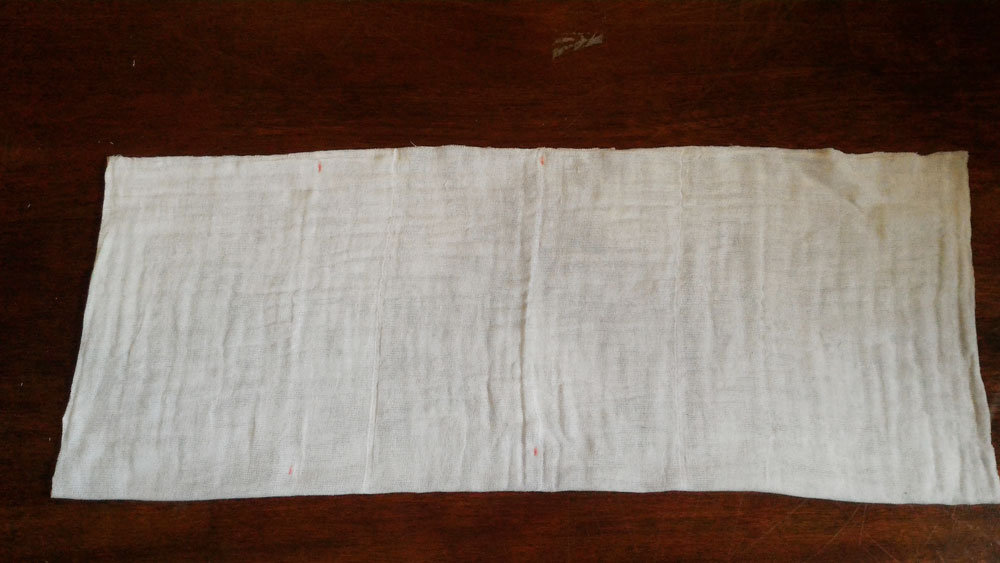
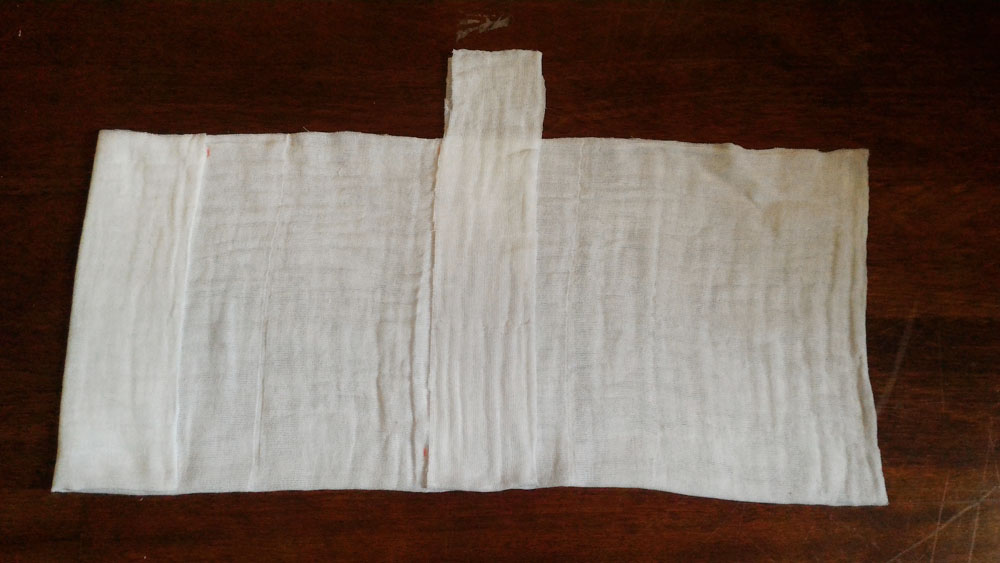
Now we have 11.5″ by 30″. Since we want to have 11″ end width, that’s about 3-5/8″ of per section. That’s going to be our division.
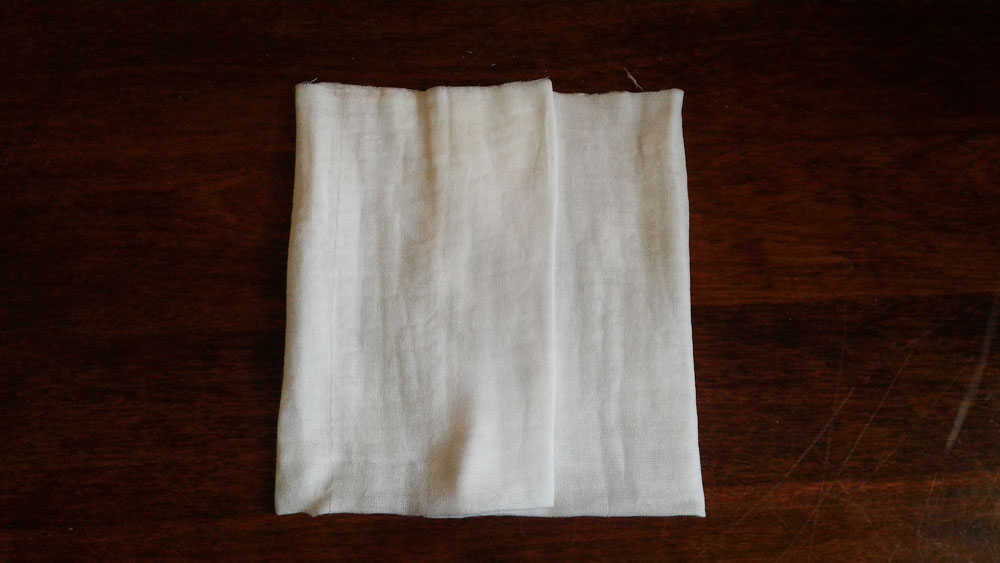
First, fold the first section (3-5/8″) on the left side. Next, to make it 4 x 8 x 4 ply, add the cut from the top, and place it in the middle, leaving 7-6/8″ gap . Trim off the excess.
Finally, I end up with 11.5″ x 11.2- 11.5″. The variation comes from how well you fold the flats, as it can be tricky to get it exactly the same each time. However, I do recommend getting that extra half inch, whatever your desired size is, as the prefold will quilt up after washing, causing the measurements to shrink, even if you have preshrunk it.
Step 4: Sewing
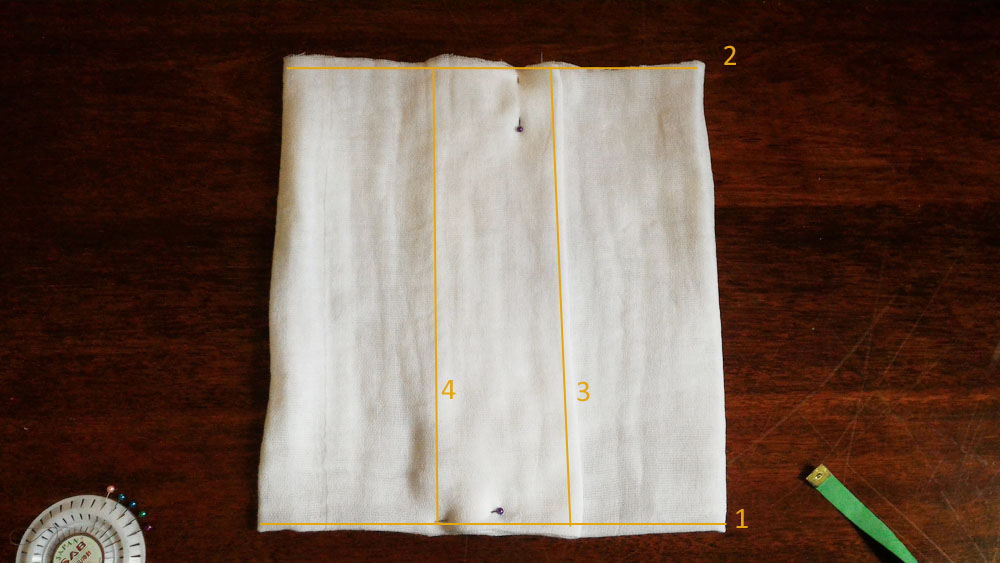
Pin your prefolds, and now it’s time to sew! I prefer to sew according to the sequence as shown below. And then only serge the edges. It makes it a lot neater. I even serged the ends of the folded ones, although unnecessary, just to press it down flat.
So, there you have it. All done. 😀 Do ask me in the comments below if you have any questions.
Hi sis, I came across your blog when doing my research on cloth diapering. Your blog was very helpful to me. I’m not cloth diapering fully yet because my two month’s old daughter is a very light sleeper and cloth diapers wakes her up every 20-40 min. I don’t know if it’s normal cause I’m a new mom too. And you inspired me to do my own prefolds. Thank you so much. Even with a thick my daughter still wakes up frequently and its difficult to put her back to sleep. So still have to use disposables. Hope I can improvise in terms of thickness and cloth material. So thank you a lot and it’s easy to understand since you blogging in English. Please keep updating. Thanks again.
Hi, I wanna ask, where did you buy the snappi? Is it really that expensive? I saw in lazada it is around rm70++
hi! I found them at Jusco. not snappi brand, but those baby brands such as Kiko, Pureen, Tolly Joy etc, I don’t remember what brands are they, but there are a few